Tutorials, tips, and tricks for the borosilicate lampworking community.
Materials
- Sheet metal (steel, stainless, aluminum)
- Tin snips
- Round cylinder (pop can, keyboard duster, automotive chemicals)
- Vice
Build
For this second frit tray build I modeled my tray after the large stainless steel tray made by glasscraft ($35). I had some leftover steel sheet metal from building my kiln door so I figured why not try making a larger frit tray. You can use any type of sheet metal so long as it's thin enough to be malleable. Start by marking the dimensions of your tray on the sheet metal. The one I modeled mine after was 10" L x 4" W x 1 1/2" D. So I marked a square that was 10" long and 7" wide, which will give me 1.5" tall legs and 4" wide of tray (you will lose some width when bending so add an inch if you think you will need it to be wider than 3"). Cut out the square with tin snips and mark your bend lines 1.5" in from each end.
The next step is to bend the legs, a simple brace can be built using a piece of wood and a few clamps. Bend down using your hand (might want to wear a glove if the edges are sharp). I finished my bend by mauling the edge with a few mallet strokes. Repeat for the other side making sure that your two bends create a "U" shape.
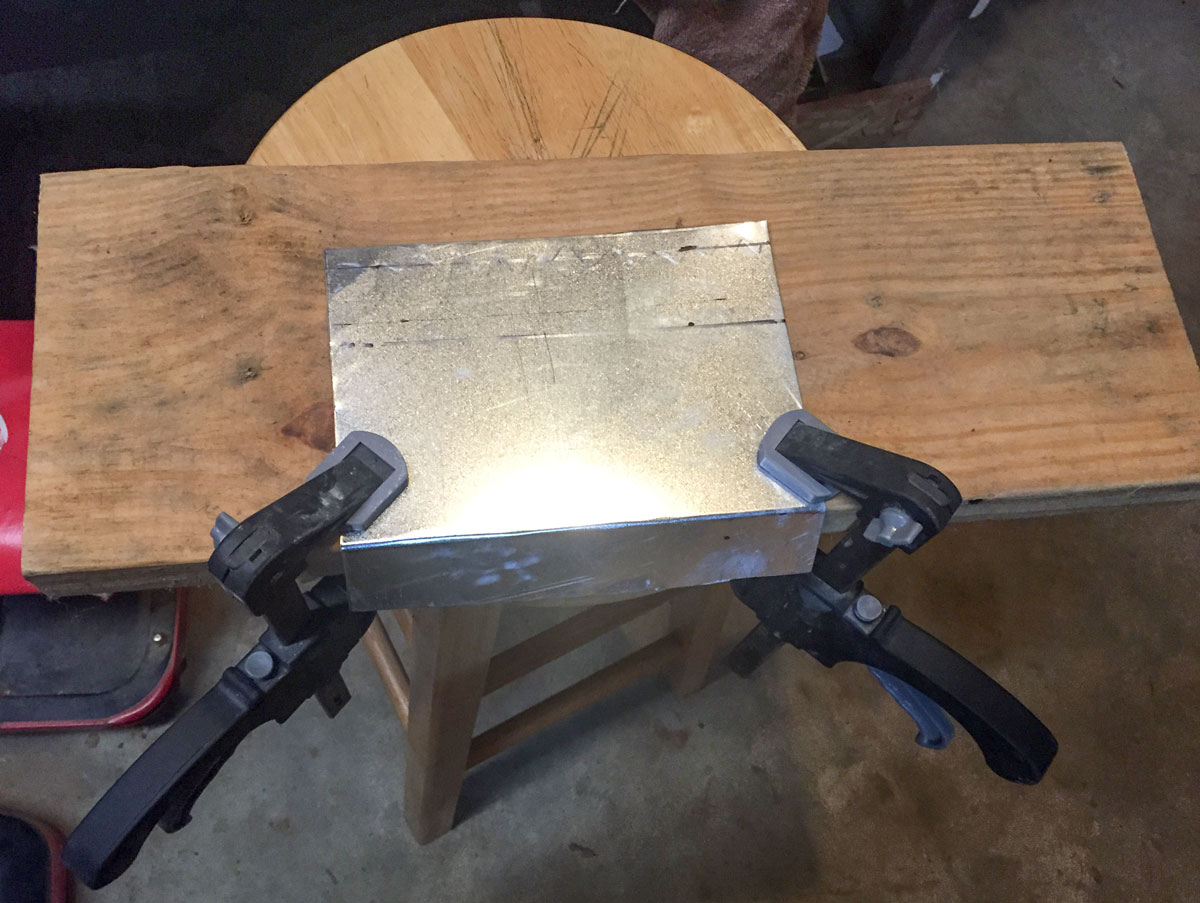
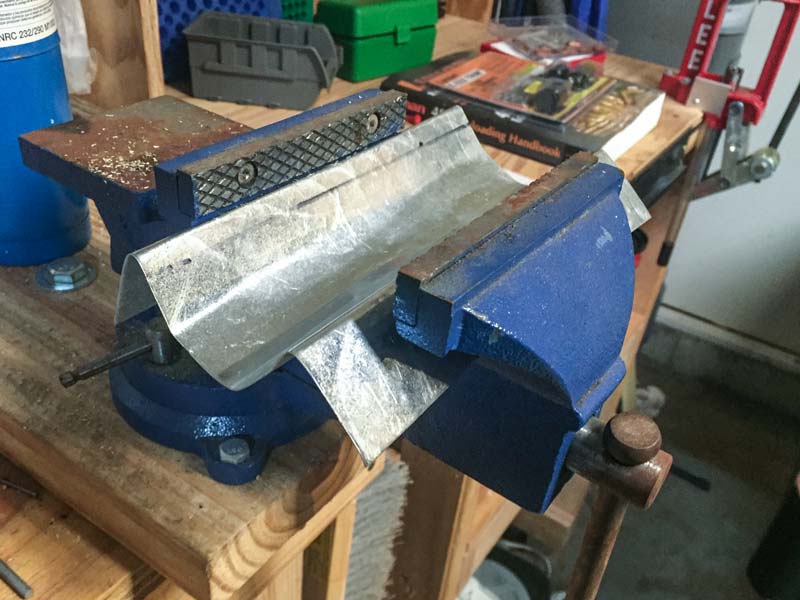
Place your "U" shaped blank into a vice and clamp it just tightly enough that it will not wiggle.

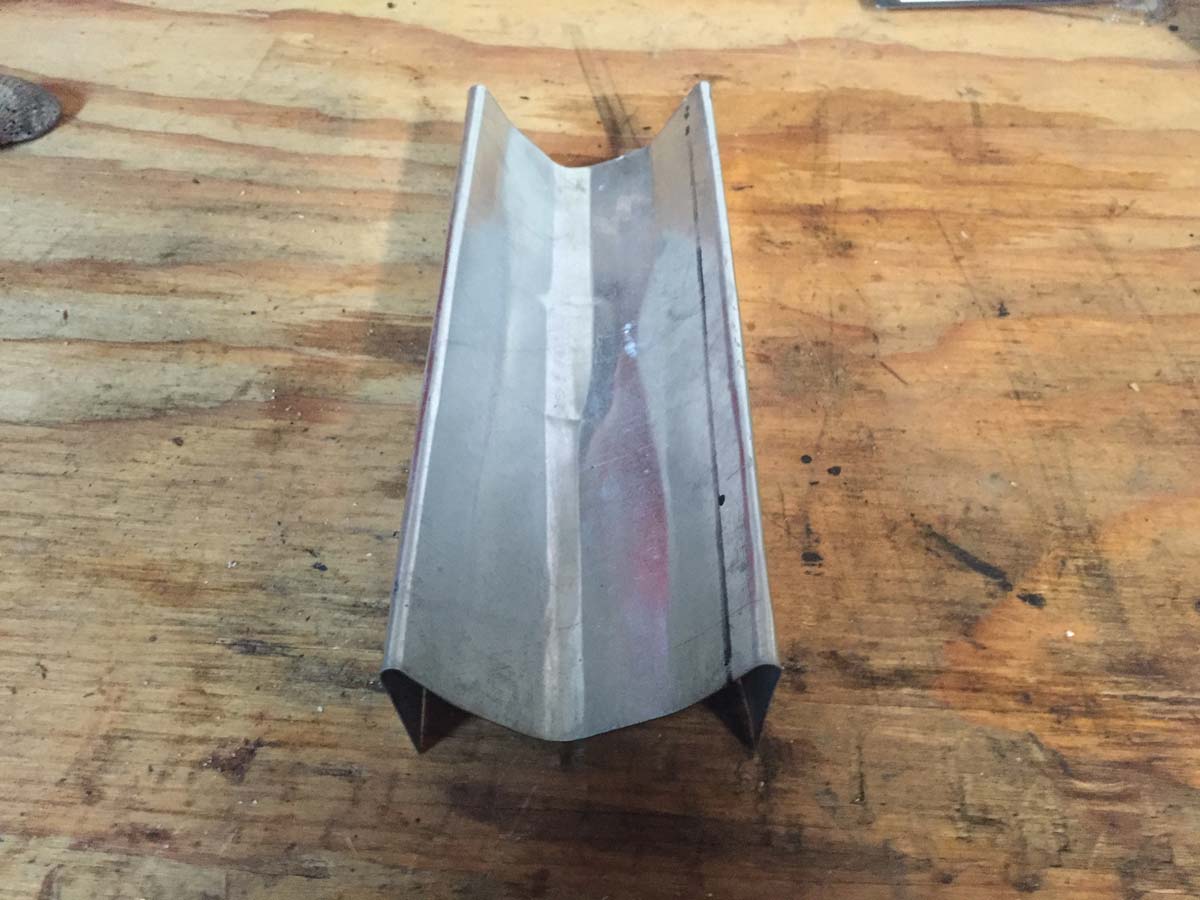
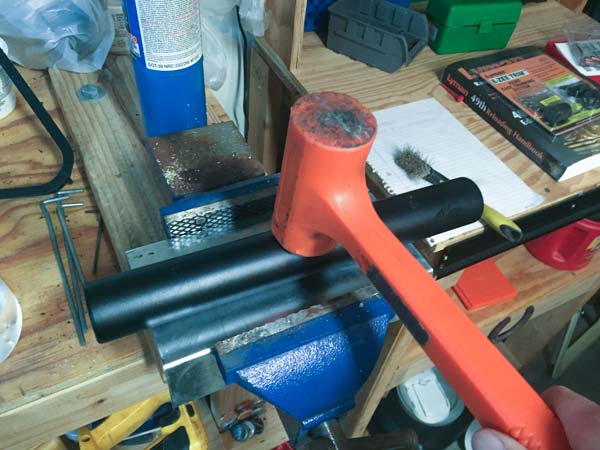
Now comes the fun part, place a cyclindrical object in the middle of your tray and gently beat it into shape with a mallet. I started this process with an aluminum baton but found a bottle of keyboard duster was larger in diameter and a better match.

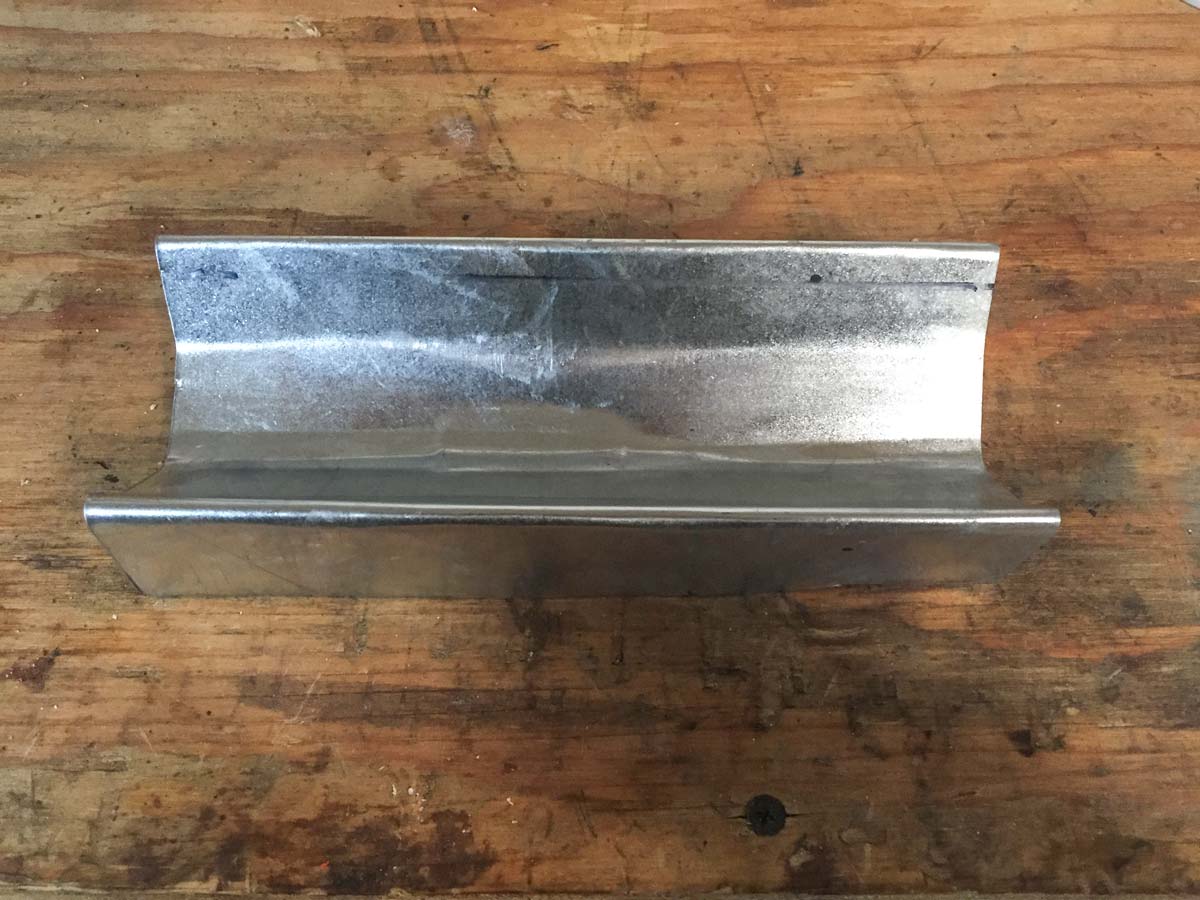
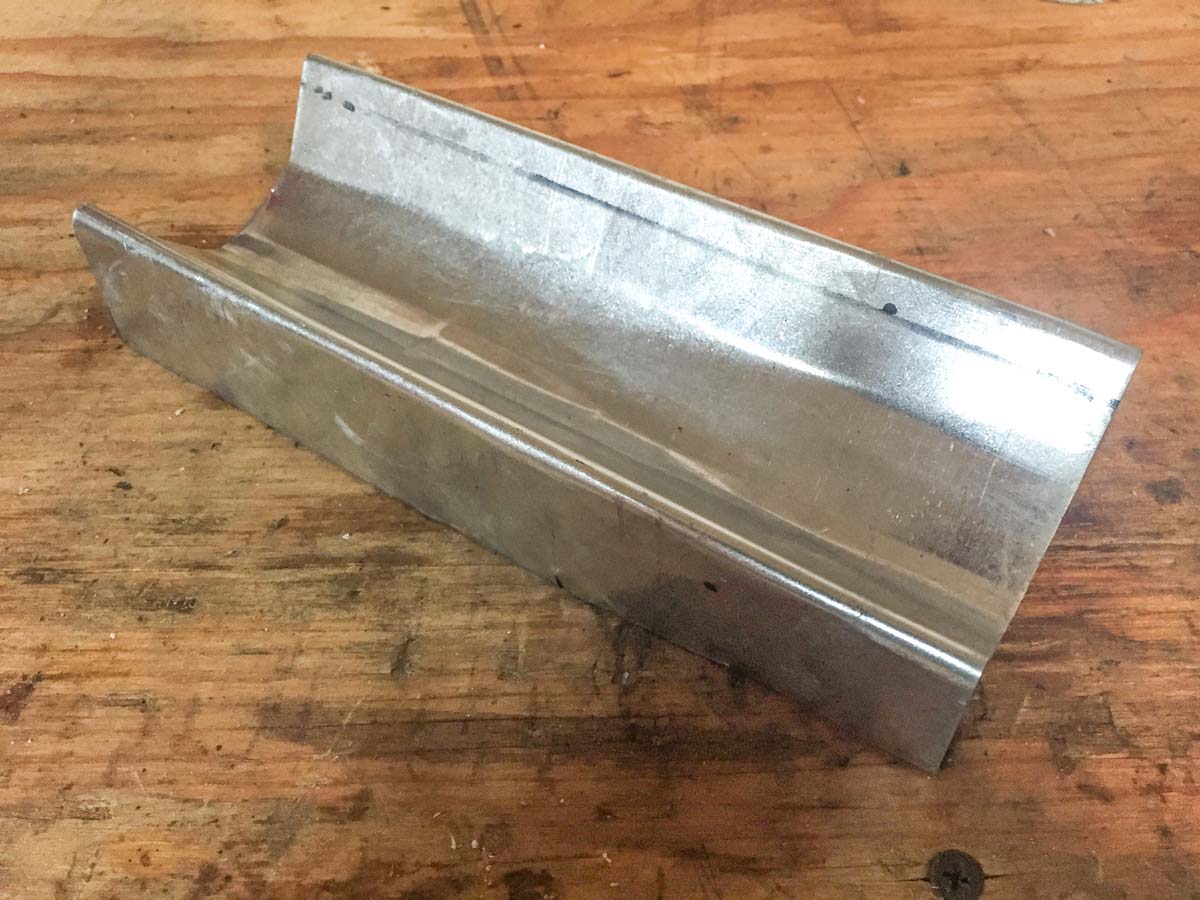
The basic shape is achieved, if your legs bow outwards you can clamp the vice in and bend them back to be more upright.
Tweak by hand as necessary but at this point you should have a ready to go firit tray. Fill her up and try it out! As you can see my tray isn't perfectly round and it isn't very pretty but for $5 dollars worth of sheet metal it certainly functions the same as the $35 dollar model I sampled the tray after.