Tutorials, tips, and tricks for the borosilicate lampworking community.
In this tutorial you will learn how to make a DIY lightbox to take great photos of your glass creations. Everything here can be found around the house or bought for just a few dollars.
Materials
- Cardboard box
- Computer paper
- Glue (stick preferably)
- White fabric diffuser (bed sheet, t-shirt, tissue paper)
- Stapler or tape
- Box knife or scissors
- Multi-fixture light or multiple lamps
- Matching bulbs (daylight ~5000°K are ideal) size will depend on camera sensitivty
- Thin poster board (optional - background colors)
Step 1
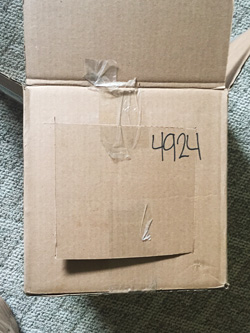
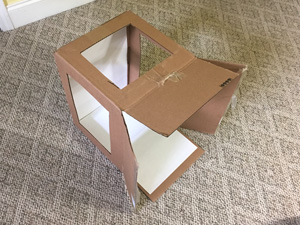
Start by finding an appropriately sized box and sealing one side if it is not already. The box I used for this demo was 12" x 18" x 12". You need to cut three holes to let light in, one on the top and one on each side. The more box material you leave the sturdier it will be, I went roughly 2" inside of the outer perimiter. Don’t worry about using a straight edge it’s not vital.
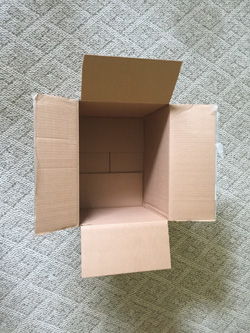
Step 2
Line the camera facing interior sides of the box by gluing in computer paper. You can also remove all the box flaps with the exception of the bottom.
Step 3
Now that the holes are cut we can add the diffusion material. For this demo I found some tissue paper from a pair of new shoes, but you can use an old t-shirt (large enough to cover all the holes so the material matches) or really any white fabric. Cut the material large enough to cover the hole and attach with staples or tape.
Step 4
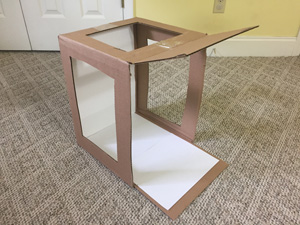
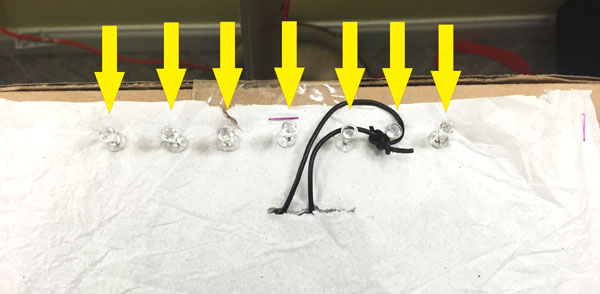
Cut a 1" slit in the top material (centered and as far back as possible). Then add a thumbtack to the center to be able to hang pendants vertically in your lightbox. I added a row of thumbtacks so that I could pull the cord a little to one side if I needed it to hang straight.
Step 5
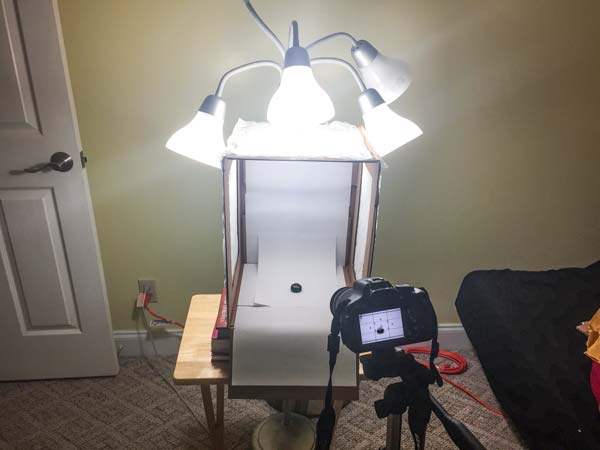
Place a piece of thin poster board or computer paper against the back wall so it drapes down towards the front of the box (note that I didn't have any poster board readily available but ideally it would cover the whole back and out the front). This will give you a clean background free image. Lastly position your lights around the box and take some photos!
Camera info and test shots
- Camera: Canon T3i (600d)
- Lens: EFS 55-250mm IS
- Aperture F 9.0
- Shutter speed 1/50s
- Bulbs: 3 x 13watt daylight fluorescent — I recommend 23watt or larger (100w incandescent equivalent)
Tip: Use a tripod and your camera's self timer function to take clearer photos in less light.


