Tutorials, tips, and tricks for the borosilicate lampworking community.
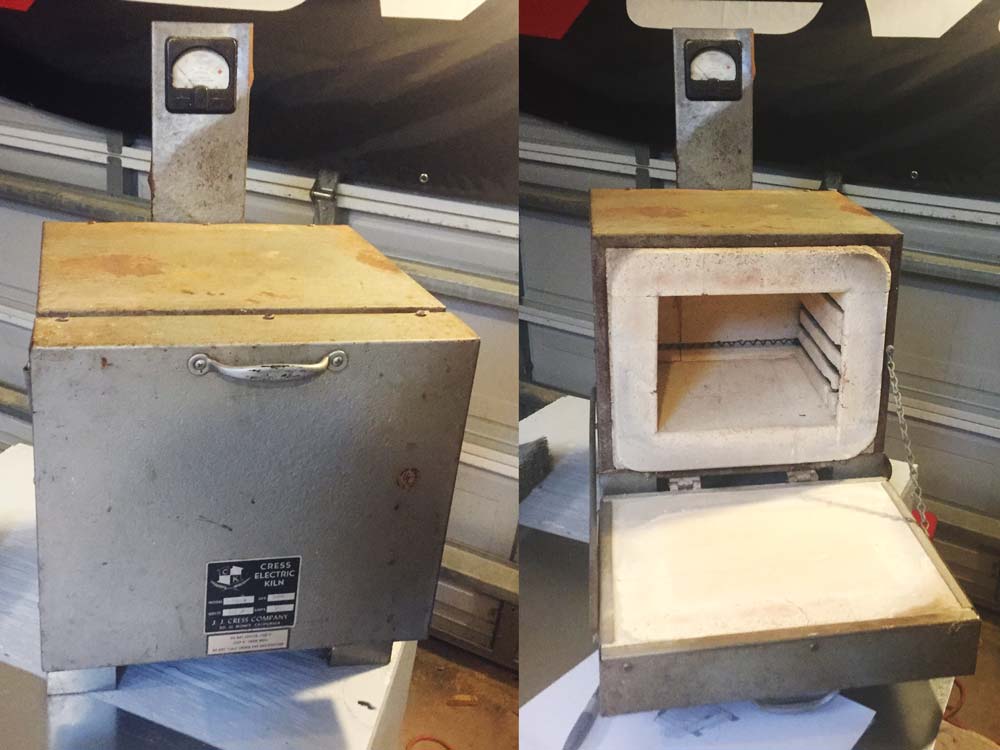
I managed to pick up an older kiln from a local lampworker for just $75! It takes a little while to get warm and is analog, but other than that it works perfectly. I quickly realized that without a punty door I was limited to using my kiln for only finished work. A true lampworking kiln of comparbale size is $1,000 so what is a man to do? I certainly wasn't going to pay over nine-hundred dollars for a punty door, so alas the $100 door for my $75 kiln was born. This was a learing experience and it is in no way meant to be an exact how-to as your dimensions and kiln paramaters will vary, but it will show that anyone with basic working abilities can take on this project.
Materials
- (6) Kiln bricks (soft white) the ones I used were K-20 9" x 4.5" x 2"
- Sheet of aluminum (store was out so I used steel)
- Screws
- Hinges
- Nuts and 2.5" bolts
- Washers
- Kiln
- Tin snips
- Jig saw
Design
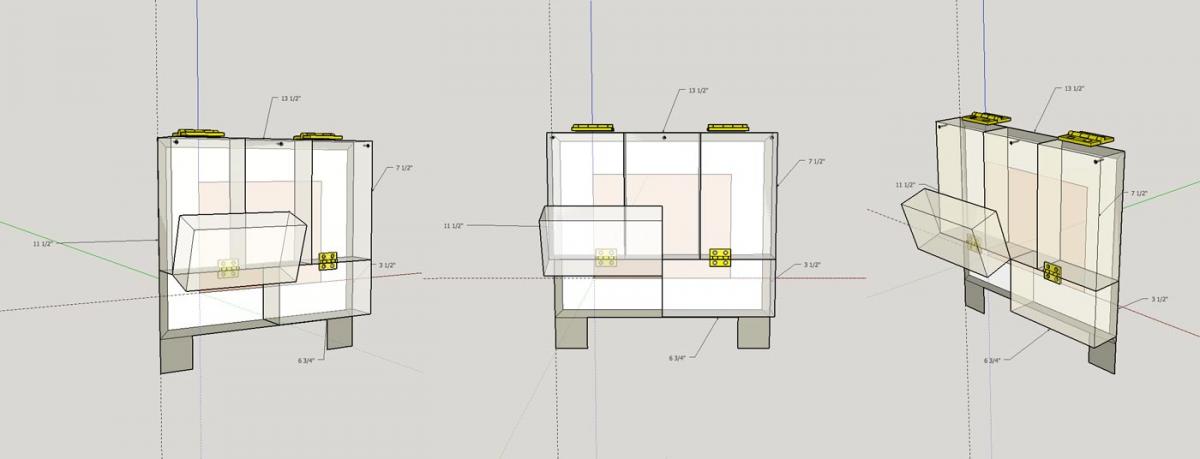
The first step is to grab a pencil, paper, and a tape measure. Sketch out your current kiln and make sure to get the full door dimensions as well as the opening of the kiln. I wasn't sure excatly how I wanted to do the door on mine, so I modeled it out in Sketchup first. Sketchup is a free 3d modeling tool, it is pretty easy if you watch a how to video, this door design was my first time using the software. You can download my model here. After playing around and referencing some kiln photos I decided to make my door top hinged with two half width punty doors. My door was created so that when my punty door was open there was a 1" opening. I opted to go 1" rather than 2-4" of a "standard" lampworking kiln because I figured my old kiln wouldn't keep up with the heat loss of a larger door. Retrospectively the kiln is more than powerful enough to run with the doors open, and I should have made the opening at least 1.5" as I cannot fit a stanard 25mm blank in without opening the full door.
Cutting the Kiln Brick
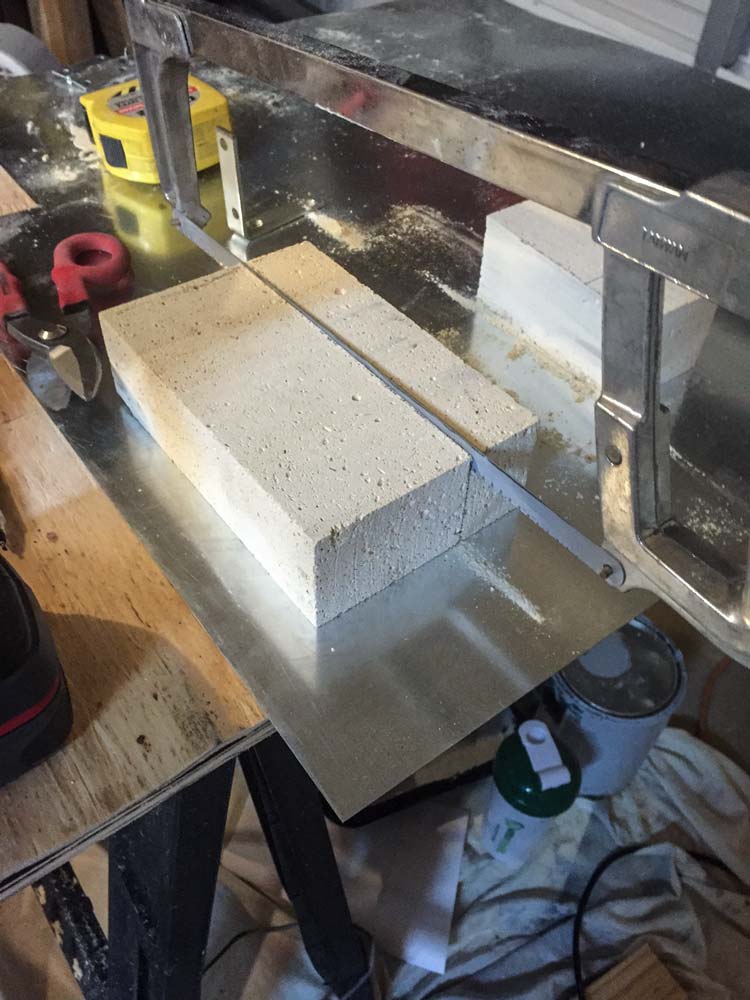
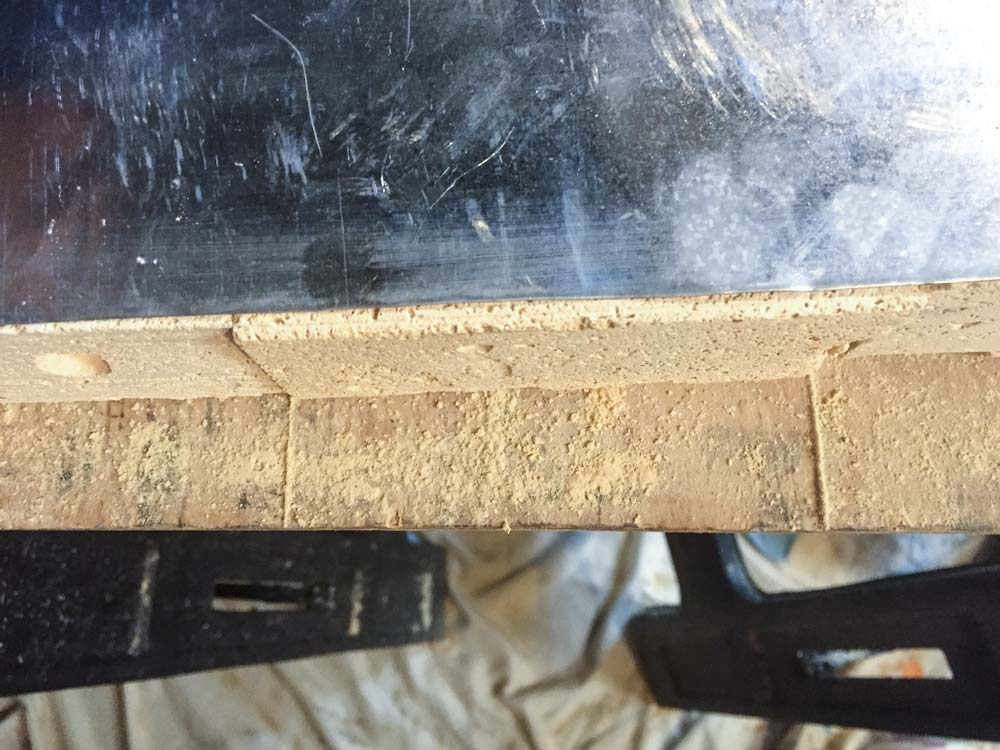
Cutting a kiln brick wasn't nearly as hard as I thought it was going to be. I used a hack saw with a new sharp blade and marked a line down the face and side of the brick to make sure the cut was clean and straight. Watch out this process creates a lot of dust so it should be done outside.
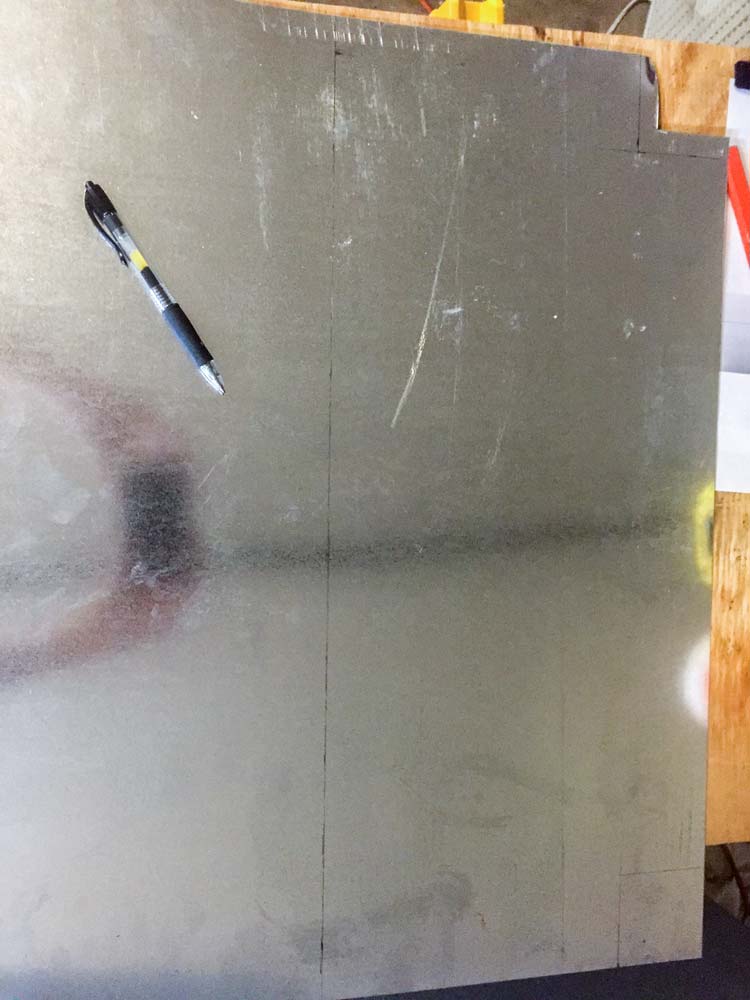
Cutting and Bending the top door
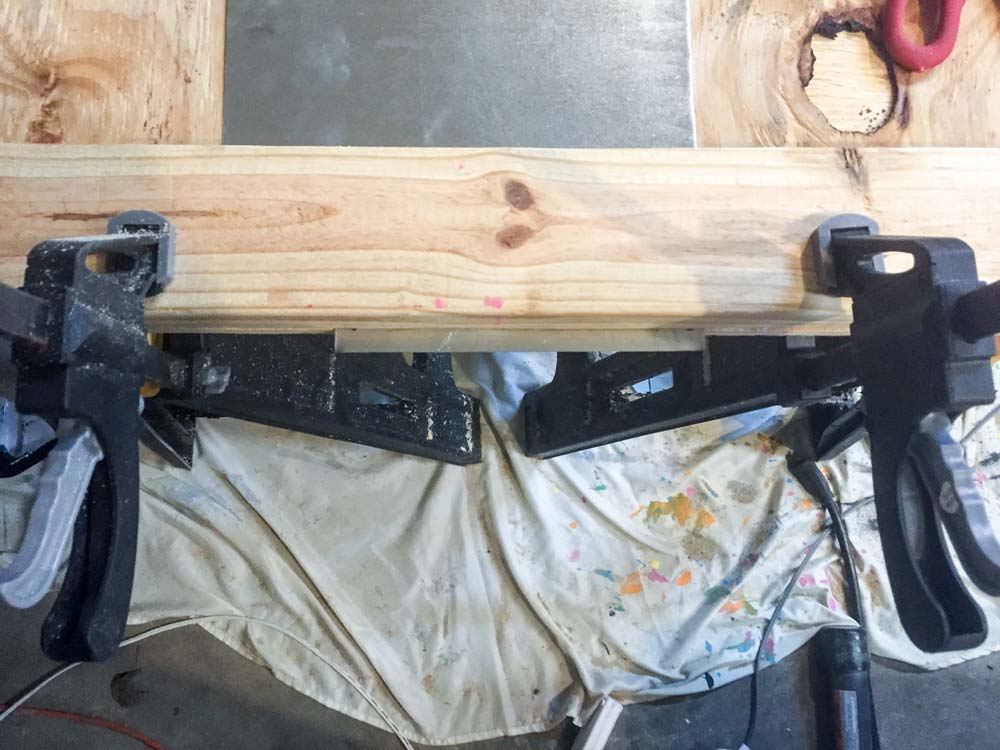
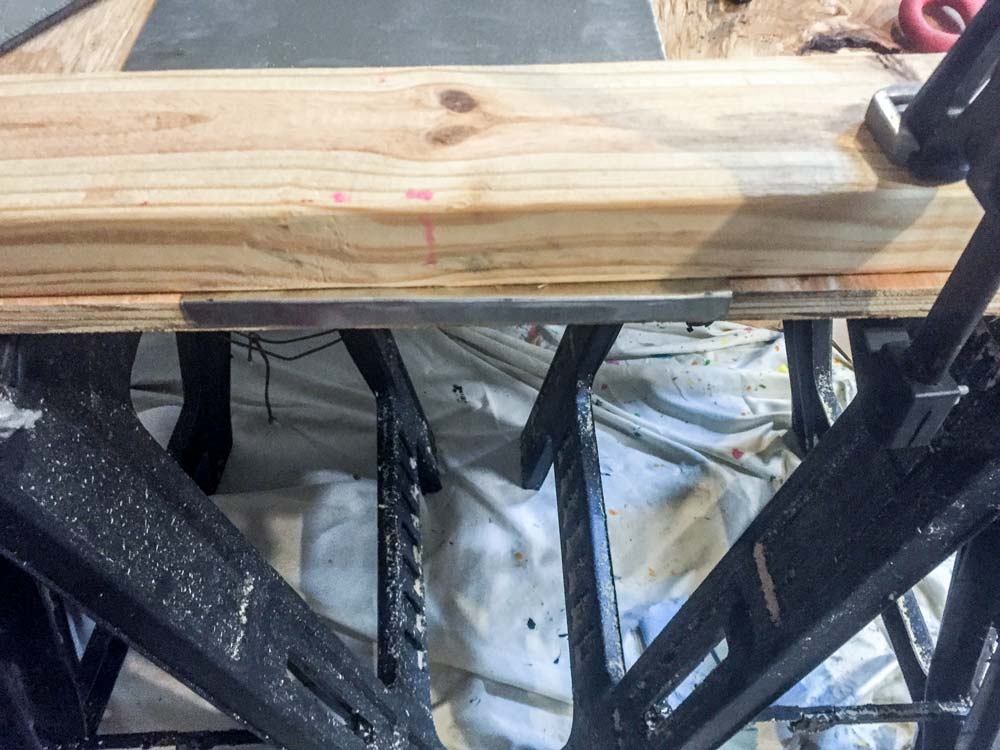
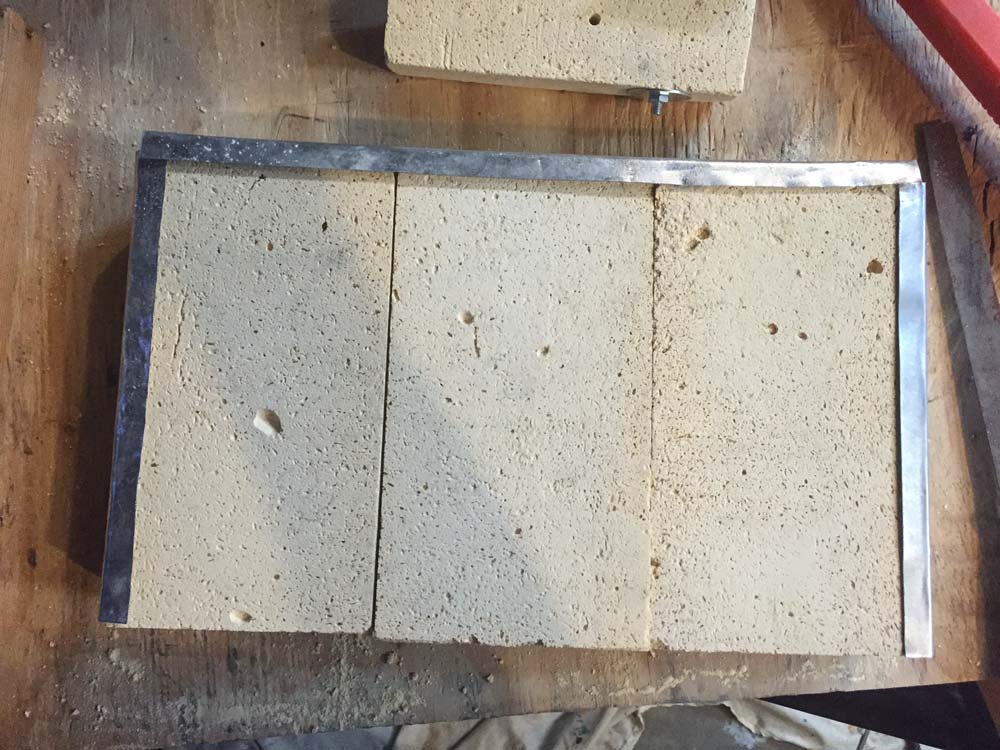
My door was 13.5" wide (3 bricks) and I used 2" thick bricks so I measured an extra 2.5" on both sides to wrap around the bricks. Add a 2.5" lip to the top side aswell but leave the bottom flush so the door is touching brick-to-brick rather than metal-to-metal. Cut out the top panel using tin snips, complain about what a pain it is. I used a sophisticated piece of wood and a pair of clamps as a metal break. Try to make the bend with your hands as much as possible and give the seam a little tap with a hammer or mallet. Mark both of your bend lines with a straightedge for a visual. Make sure to figure in a liittle wiggle room in your bend so your brick fits inside, I bent mine a little too small on one side and it was a pain to try and rebend.
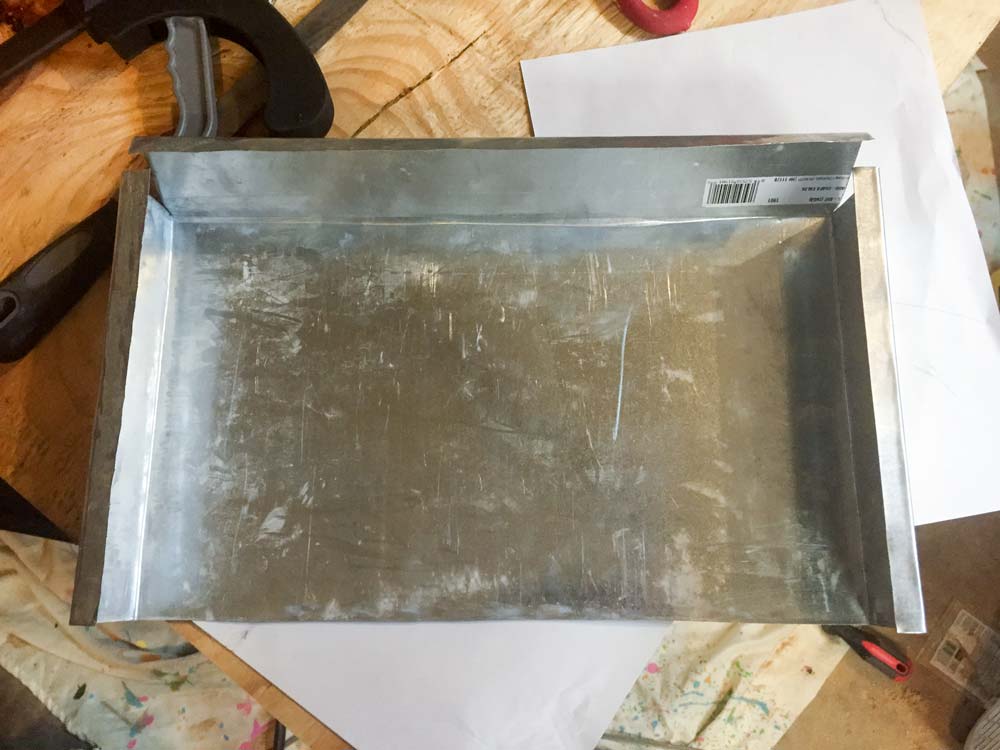
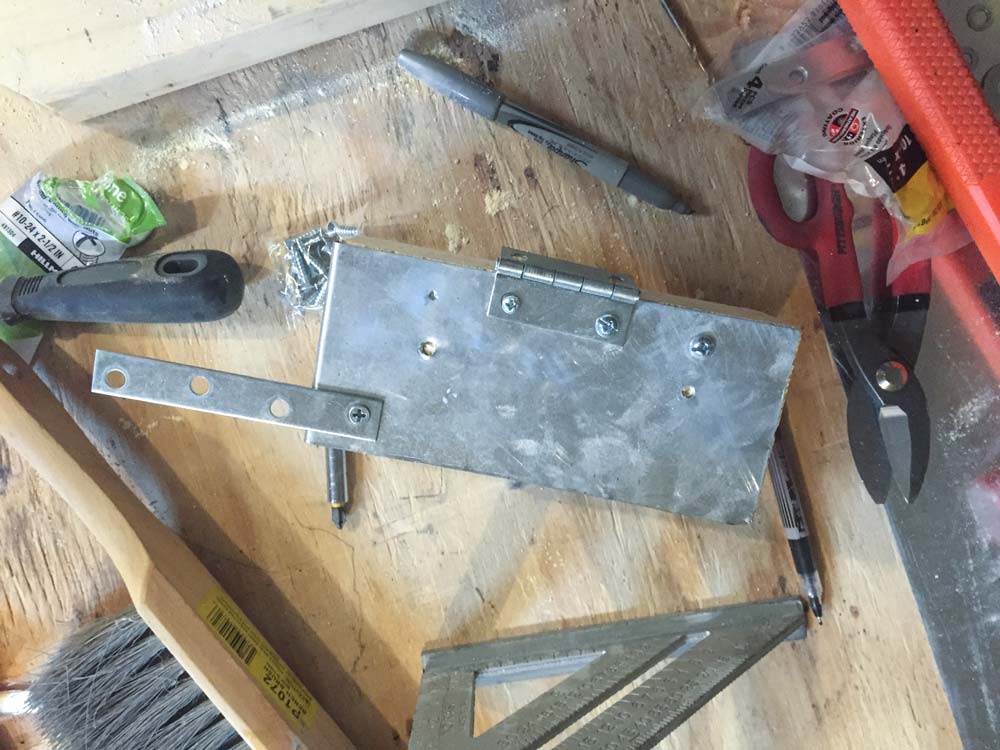
Top door hardware
After bending the top frame like so I test fitted my bricks. Everything looked pretty good so I drilled and screwed the corners. It is very important to mark the metal and then drill very slowly through the metal, if you go to fast you will blow right through the soft brick and it won't hold. I found what worked best was to drill a dent into the metal and use a little grunt with a screwdriver to push it through.
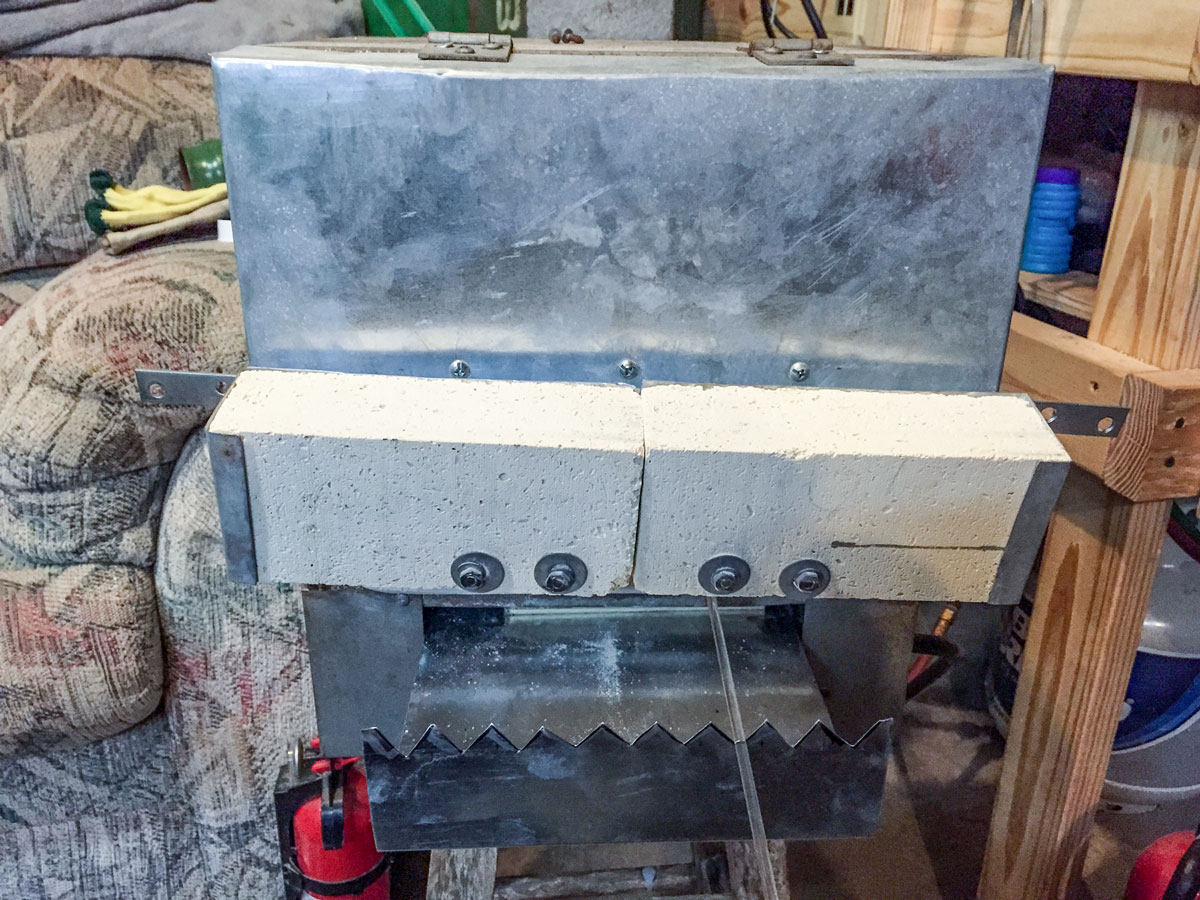
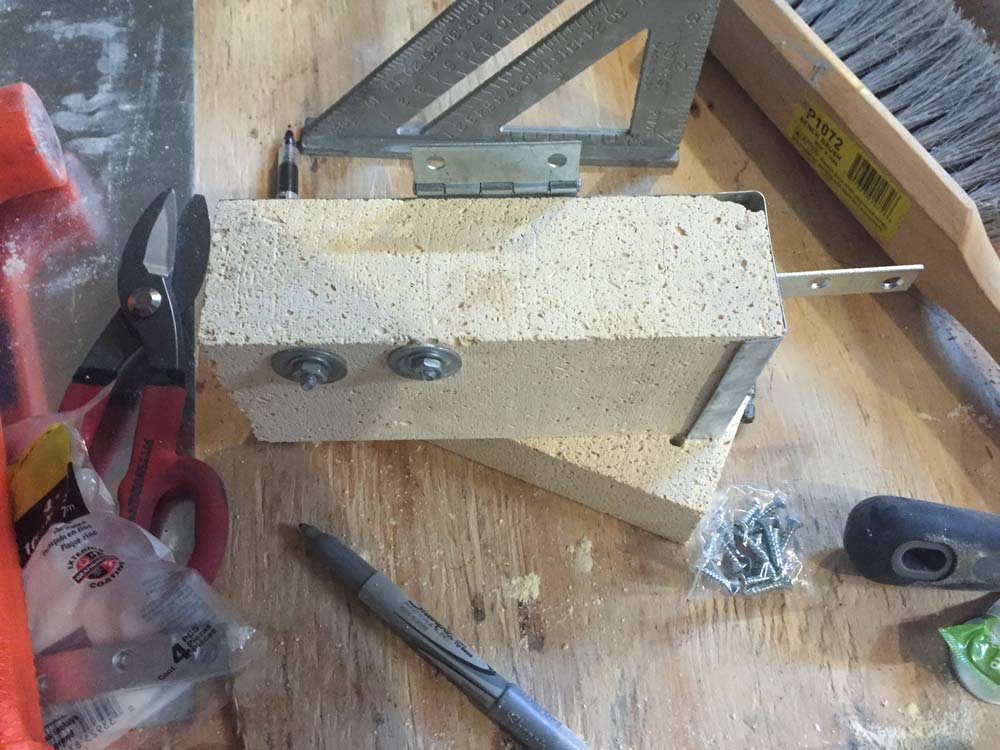
After the top row of screws was in i drilled holes through each of the bricks and the face of the door to keep them fixed together. Make sure to measure the permitier of your kiln face so that you screw heads will fit inside of the kiln and not leave a gap.
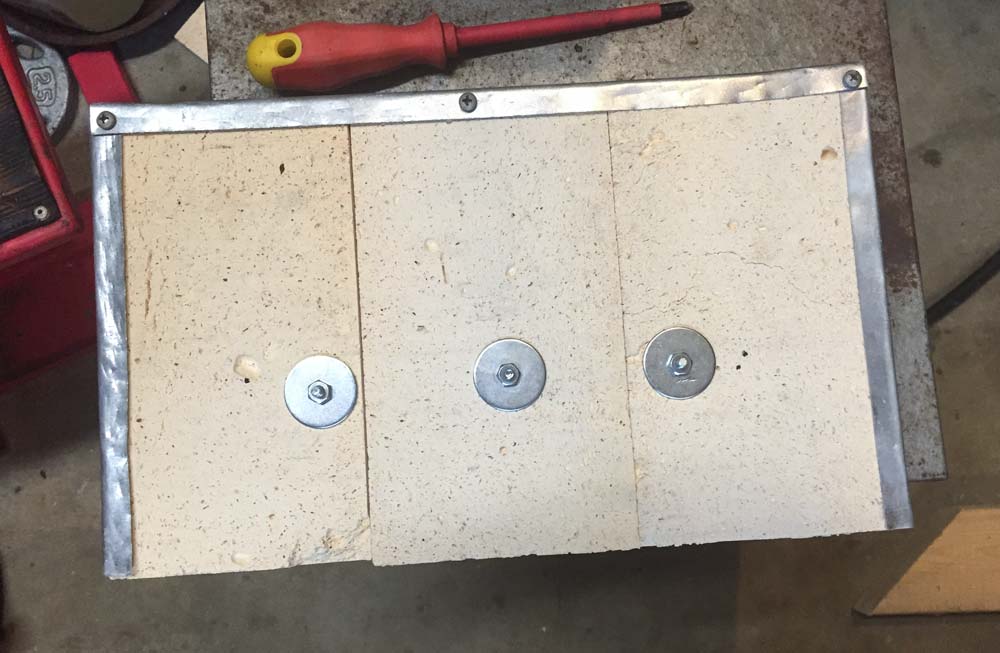
As you can tell in the photo my middle brick stuck past the other two a bit. This was because the top door bend was not crisp and had a bow in it. No big deal though I ran the hack saw down it and flushed it back up, it doesn't need to be hermetically sealed.
Punty doors, now we're talking!
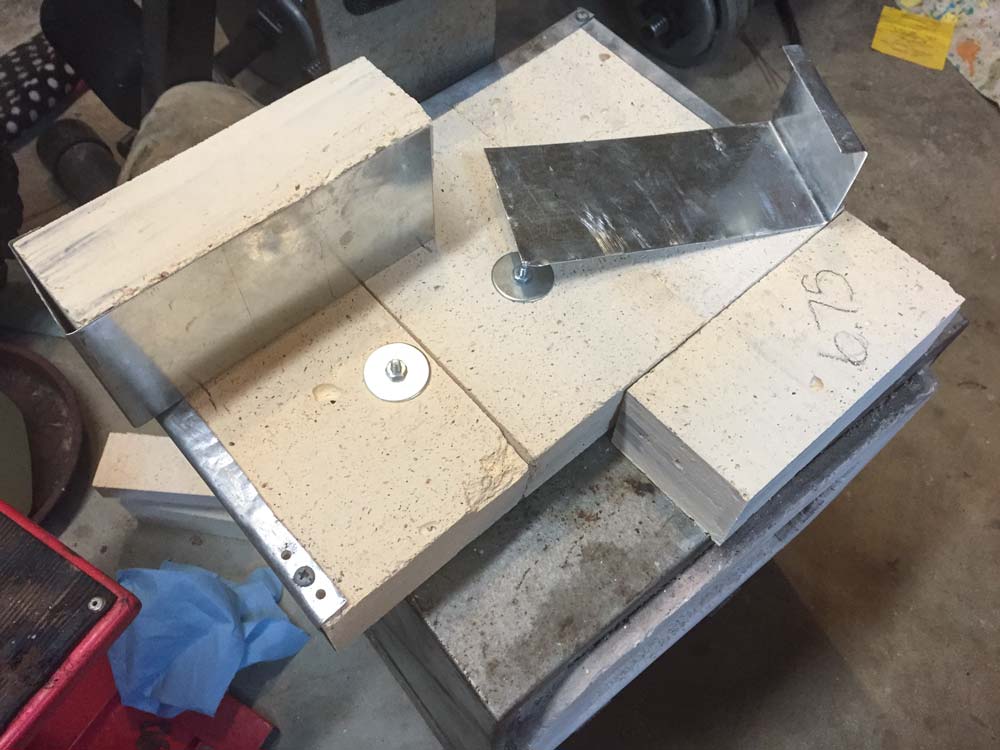
Cut and bend a piece of sheet metal for each door. For mine I decided to leave a wrap of 2.5" on just the outside edge. Remember to bend your two pieces opposite, one for each side. I put one hinge and two bolts per door, but I forgot that my bolts would need to fit inside of the actual kiln, so I lost a brick (good thing I ordered an extra). Retrospectively I should have used two hinges per door, or a piano hindge across the whole top. Mine has a little bit of sway in the door movement. I used a straight little metal piece found in the hardware section as a handle for my door.
Attaching the Hinges
There isn't much to this other than just doing it. Make sure to place it in a way that it is hung level, and make sure to only drill halfway through the sheet metal finishing it with a screw/screwdriver.

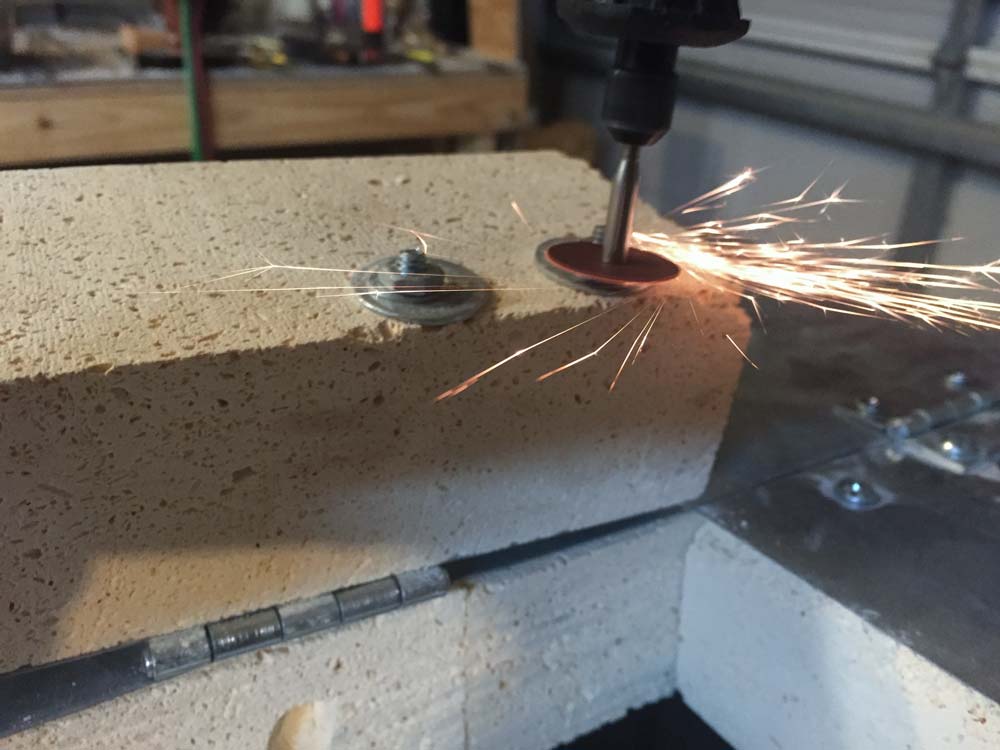
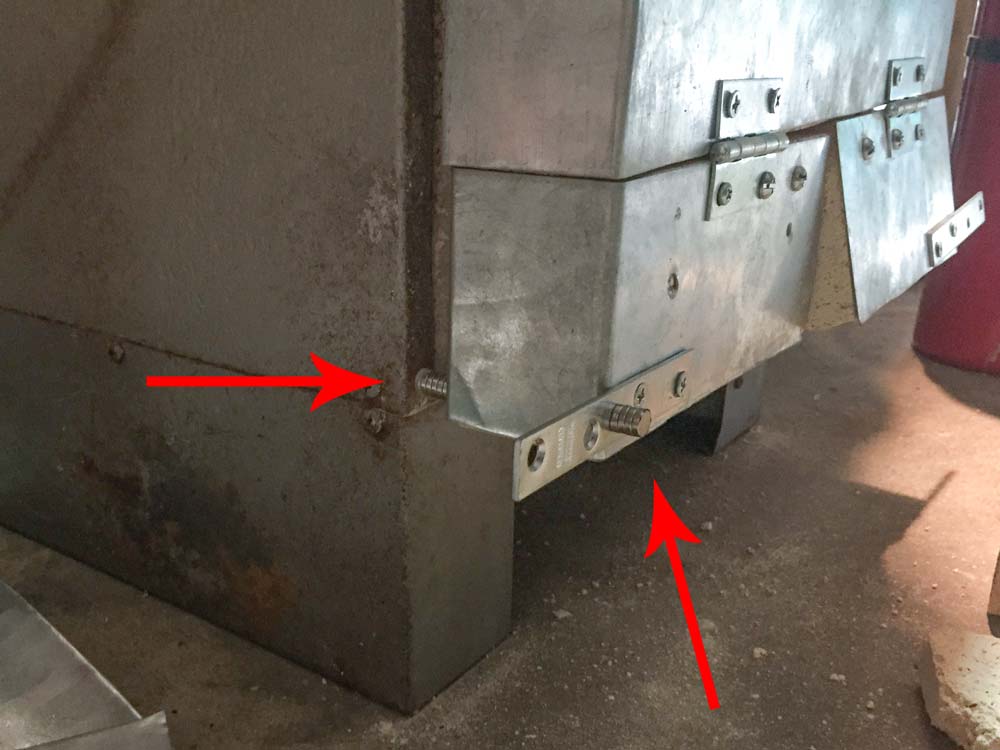
Well that doesn't fit
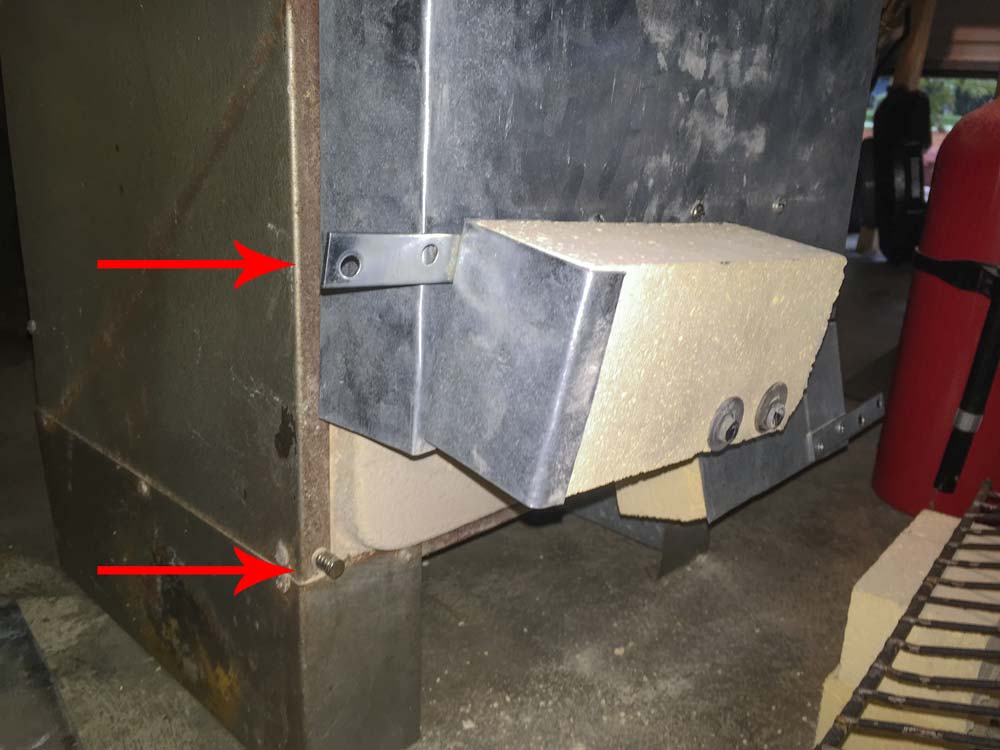
Building something like this takes a bit of ingenuity, I didn't factor in the length of the botls for the door so after it was attached to the kiln it clipped the inside of the door. So out came the dremel and I cut off the remains of the bolt. That and a little rubbing and it was in.
Magnet time
I got a 10 pack of rare earth magnets from harbor freight. Before I built something to hold my magents to where they would actually catch. I stacked a few magnets and actually had enough to open and close one door. I bought another 10 pack to use on the other door. Now they both have a positive "click" into the open and closed positions.
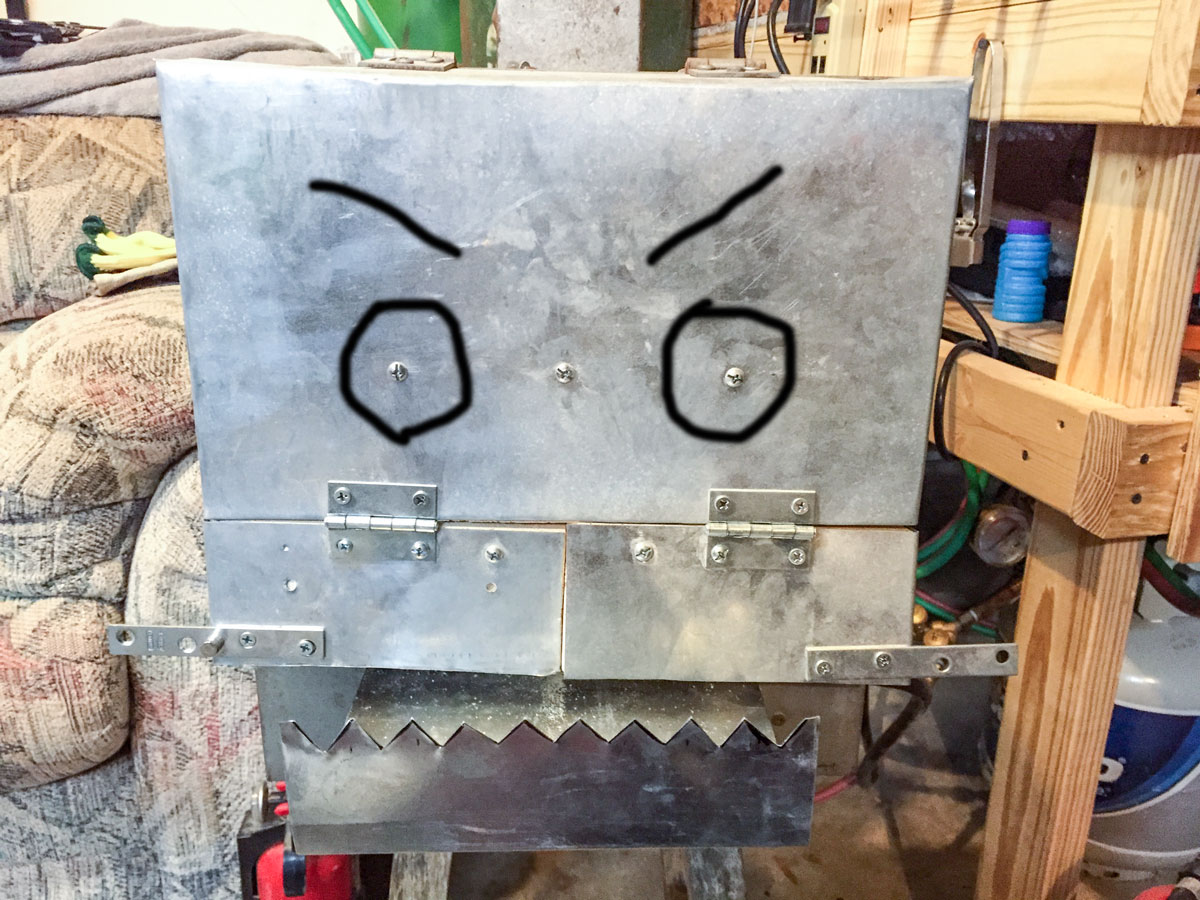
Conclusion
It works! It might not be the prettiest, straightest, or best kiln door but I have working punty doors now.
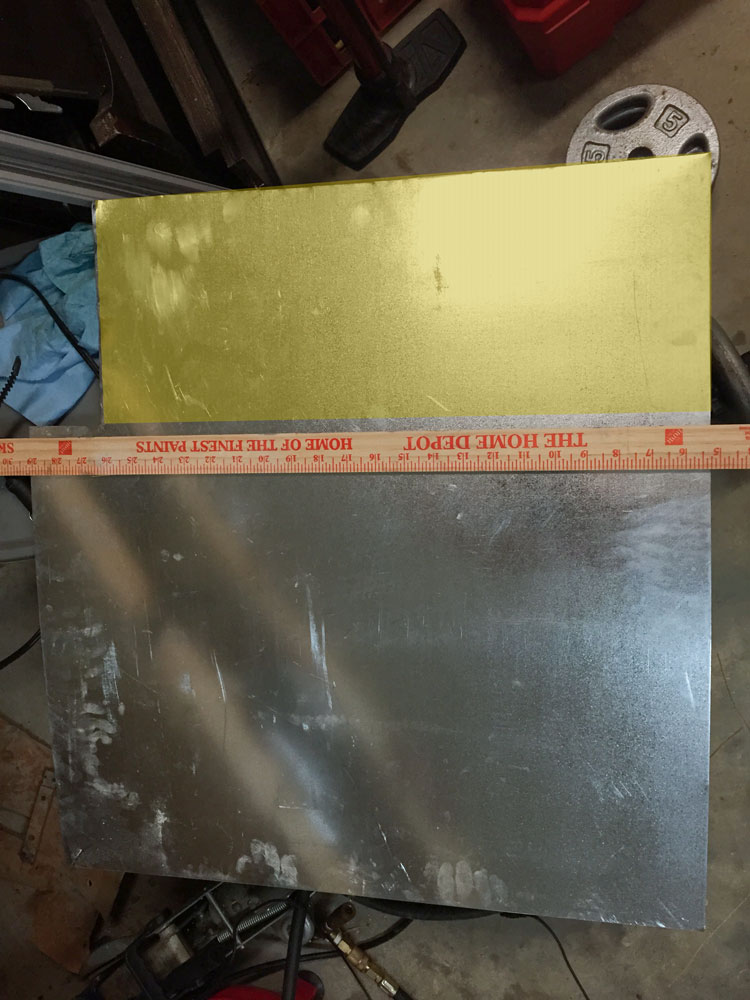
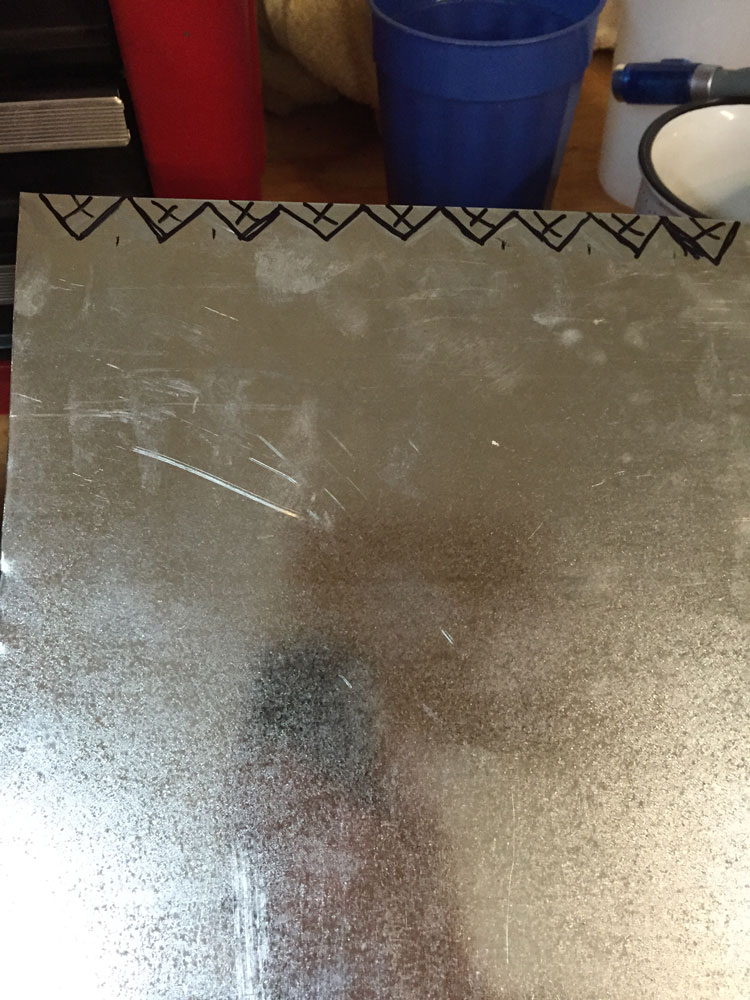
Bonus — Rod rest
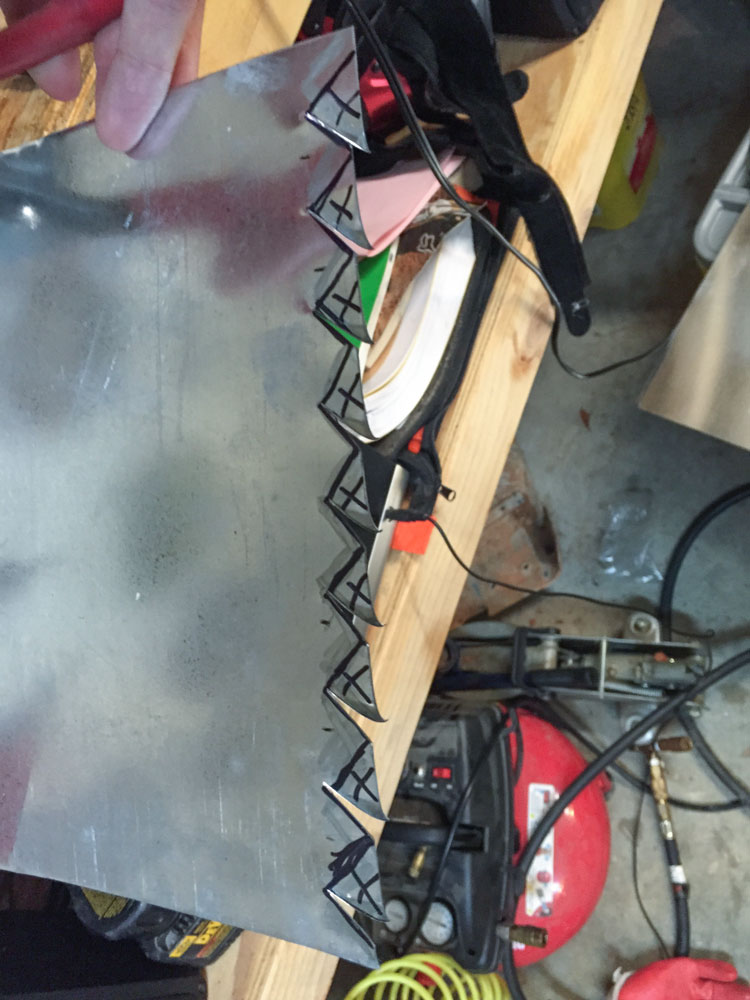
I forgot about this part at first and used a stack of kiln bricks as a rod rest for a short time. I simply cut a piece of the remaning metal to the width inbetween my kiln's legs. I left it the full width of my sheet (2'). I took a tape measure and marked the middle, then used a sharpie and drew triangles the length of my material. I went about 1/2" deep and about an inch apart from triangle to triangle, I didn't measure I just winged it. After marking it, cut the length of triangles in one direction with tin snips, then move to the other side and repeat. I made a stand for my kiln from an old stool I had laying around so I simply placed my rod rest inbetween the top of my stool and the bottom of the kiln. Measure and bend your rod rest to be level with the bottom of your kiln opening. Make sure to give it plenty of room for the doors to operate.